Chocolate Swirl Cookies were a happy accident (just like the original chocolate chip cookies). I happened to use melted butter as my oil that particular time, and I was in a hurry. Well, my chocolate chip cookies didn’t turn out quite as planned, so when I went to the party that evening, I came with one batch of chocolate chip cookies and one batch of chocolate swirl cookies. The funny thing was, there were several people who liked my chocolate swirl cookies even more than my chocolate chip cookies!
The most important thing is that these cookies taste awesome. They’re also one of my go- to treats to bring to parties, because almost everyone can eat them. Gluten-free, paleo, dairy-free, vegan, on the specific carbohydrage diet – all these people can enjoy the cookies. The the people out there with a severe nut allergy, well, I’m sorry. Nothing will work for everyone.
Ingredients:

Here are the ingredients
- 2 1/2 cups finely ground almond flour
- 1/2 teaspoon baking soda
- 1/2 teaspoon sea salt
- 1/2 cup maple syrup or raw honey
- 1/2 cup minus about half a tablespoon of oil (I typically use avocado oil)
- 1 tablepoon vanilla extract
- 1/2 cup dark chocolate chips
Instructions:
Preheat the oven to 350 degrees F. Line two baking sheets with parchment paper.
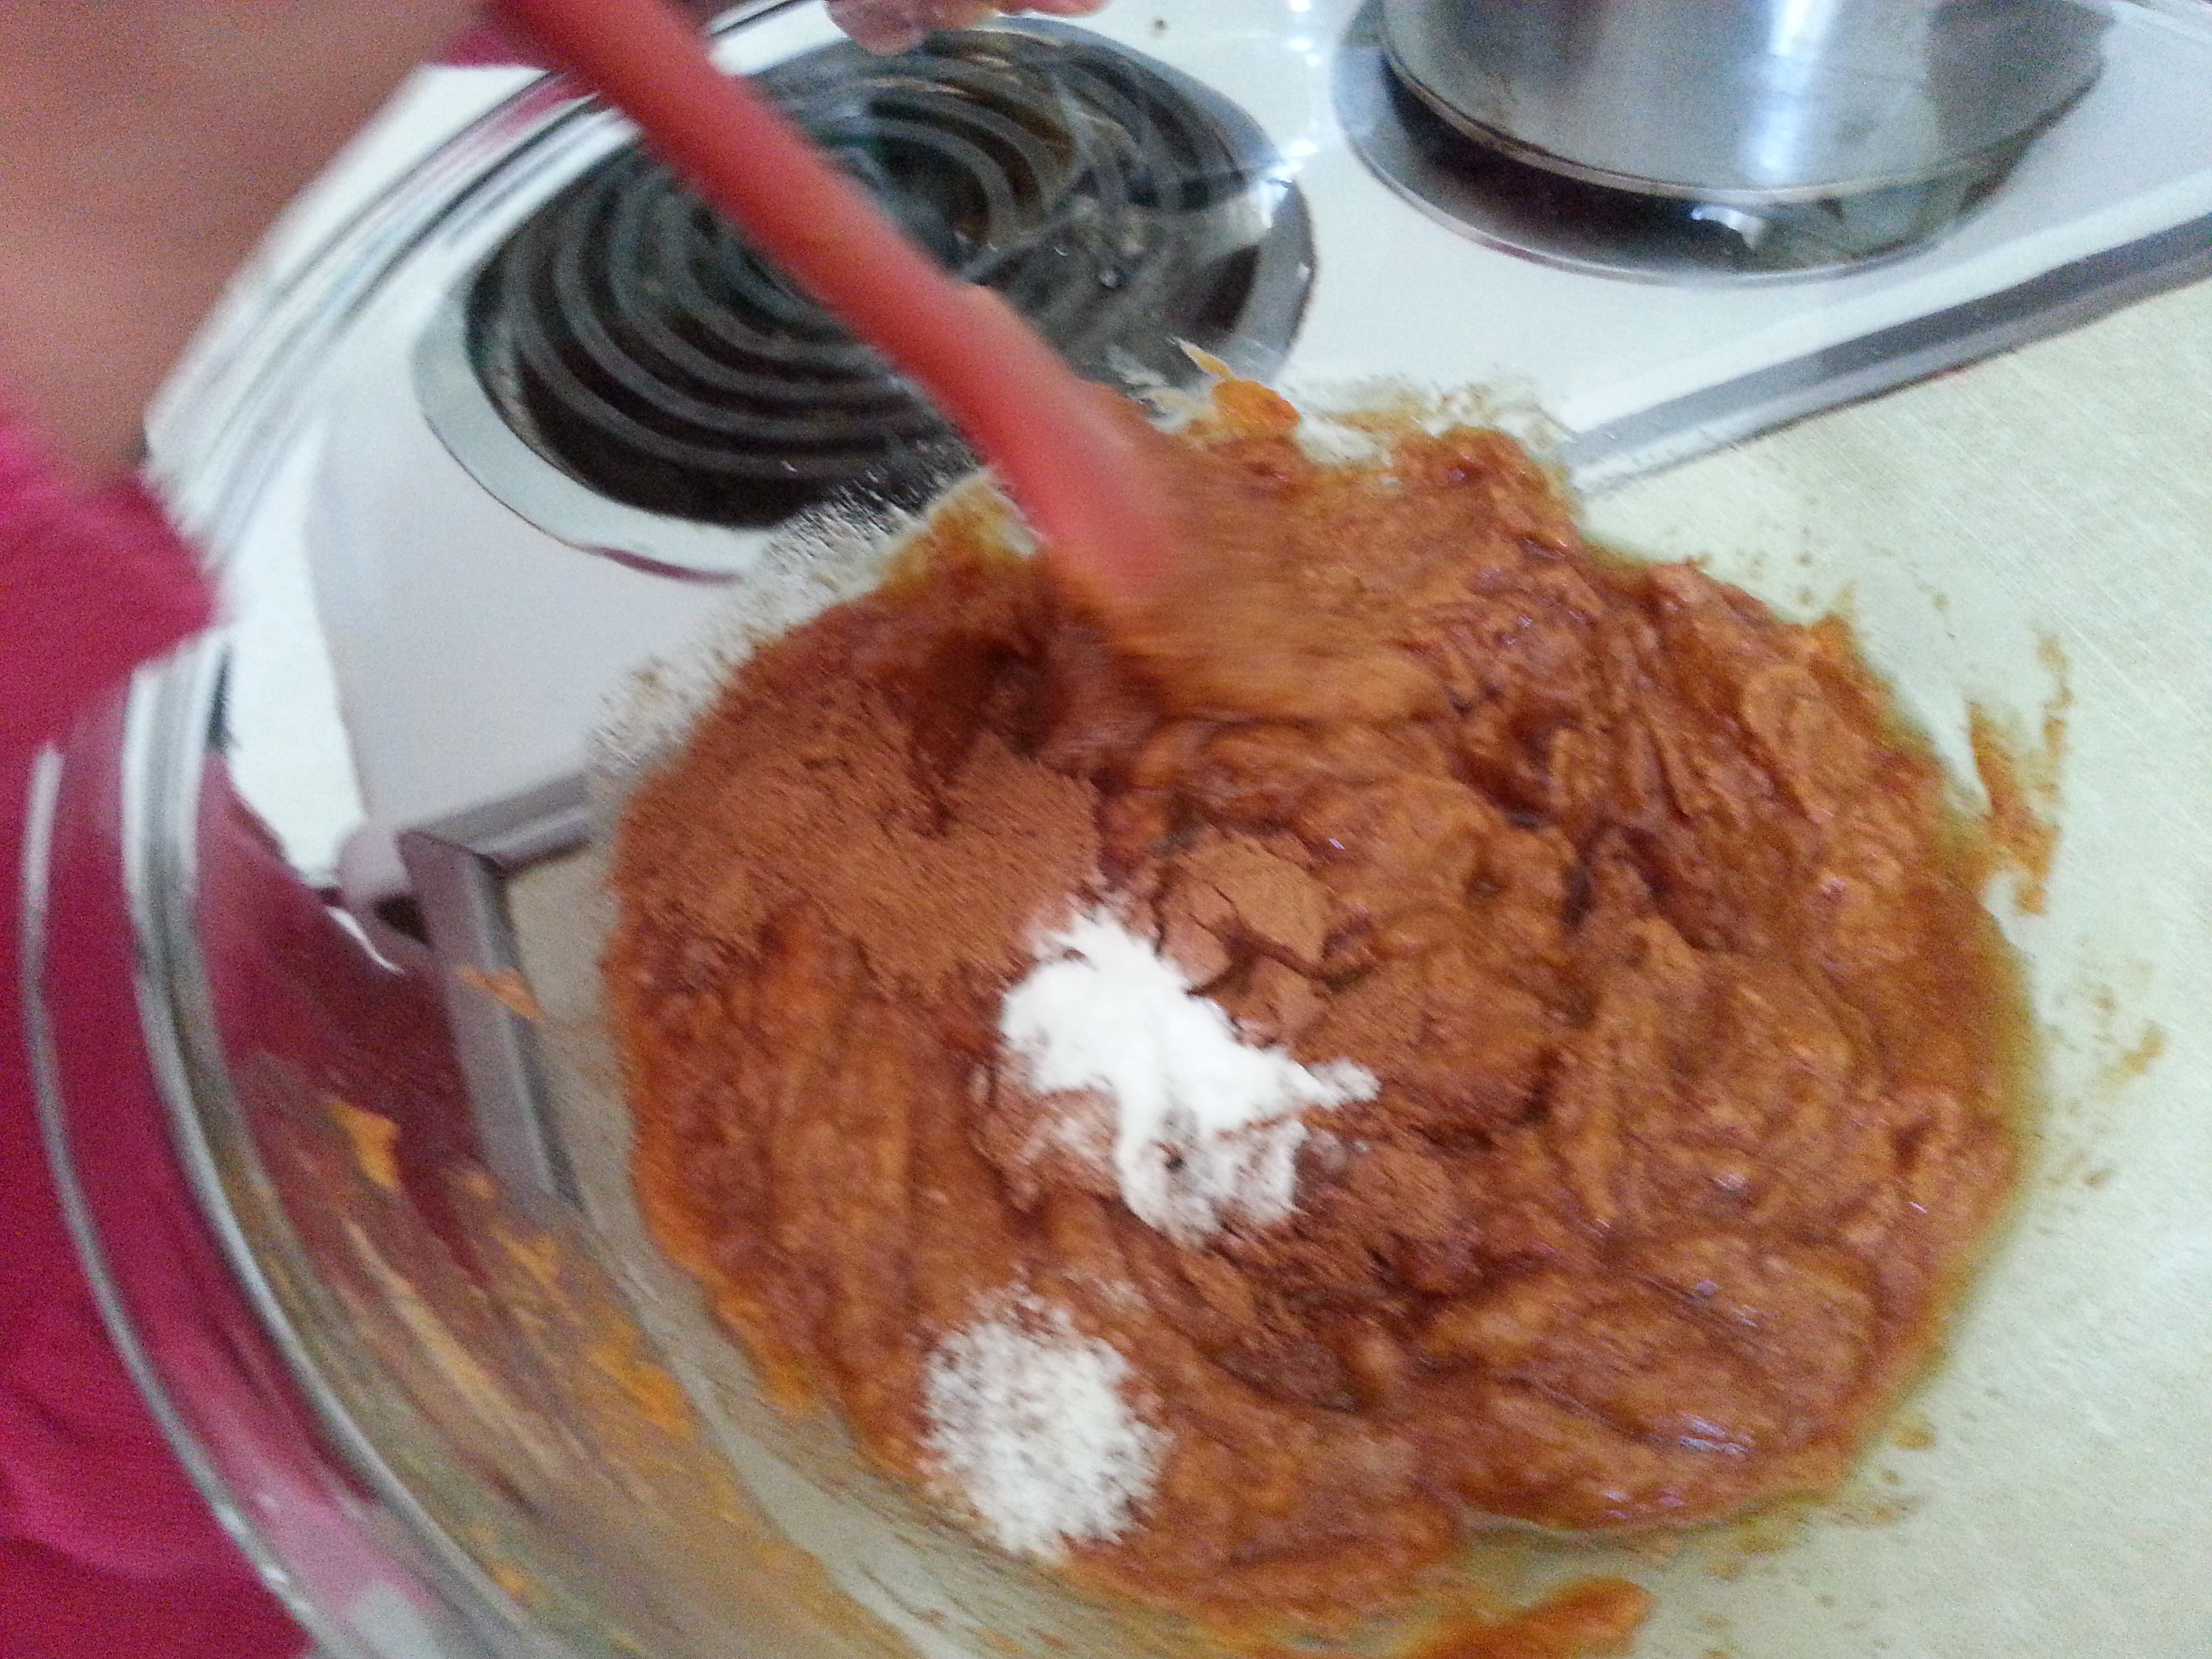
In a large bowl, mix your almond flour, baking soda and sea salt. Set aside.

Almond flour, baking soda & salt
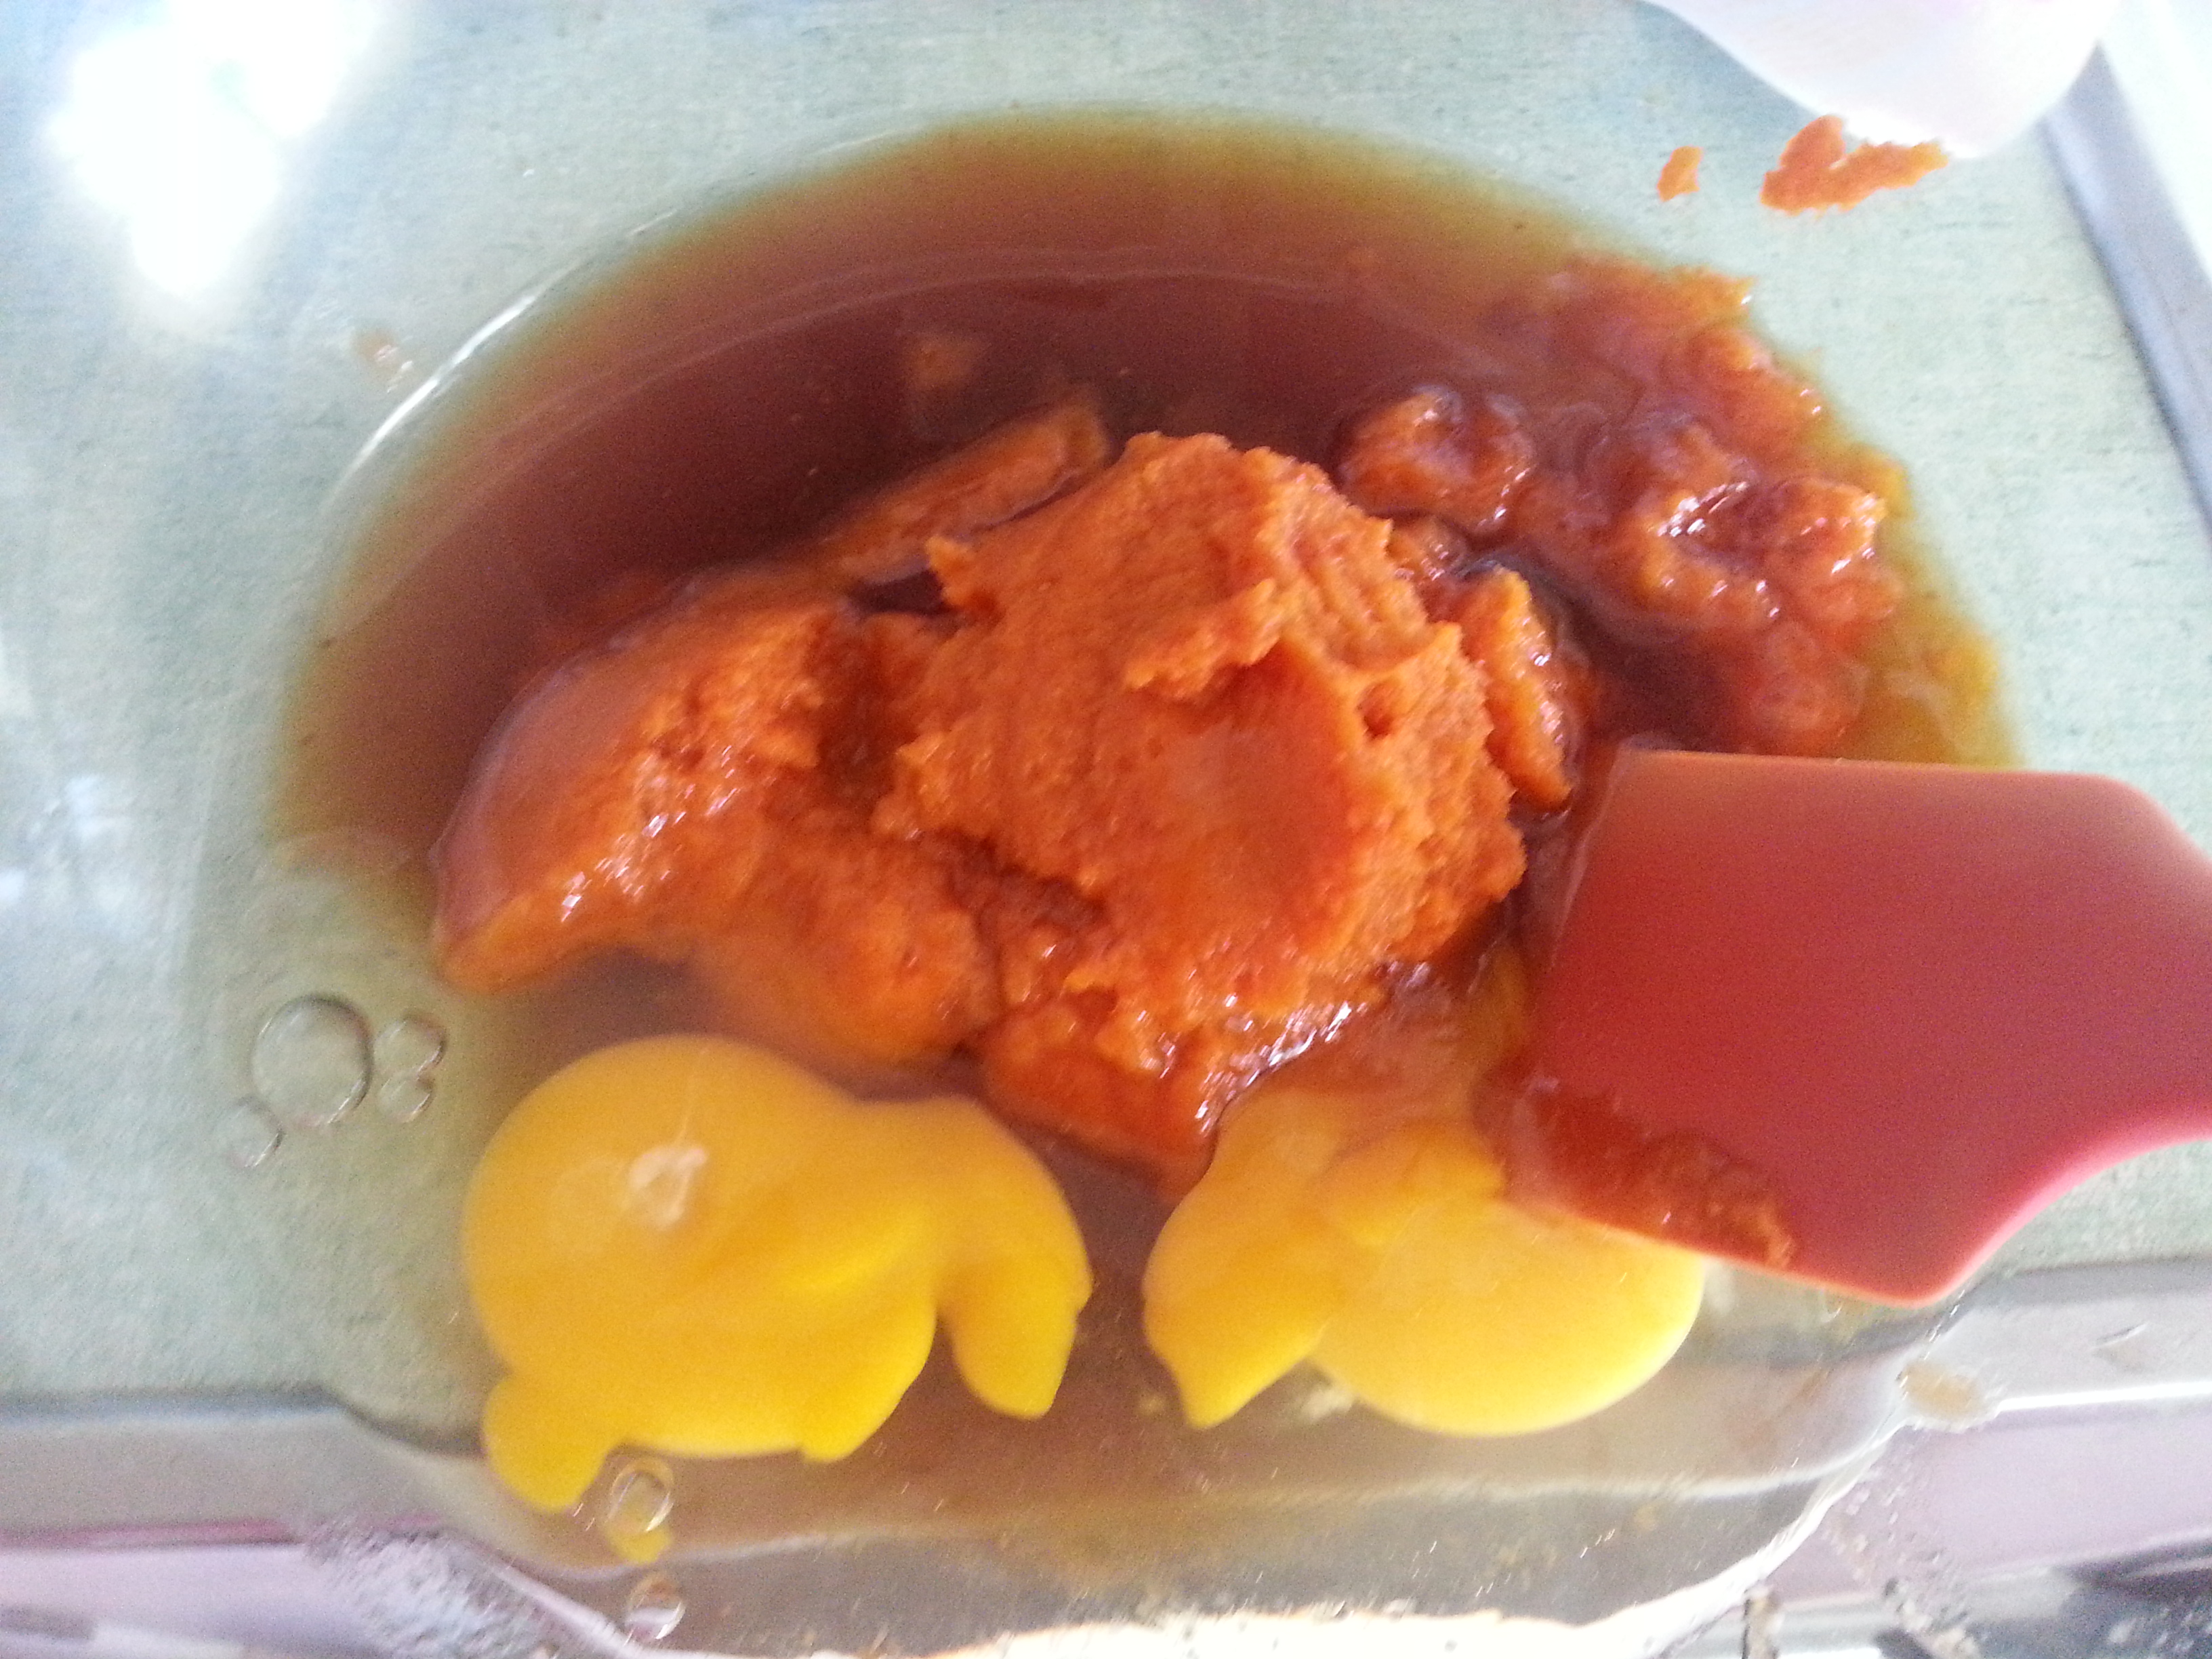
In a smaller bowl, or a measuring cup, mix your oil, maple syrup, and vanilla extract. I like to just use my 2-cup measuring cup, because that’s one less dish to wash afterwards. To make life a little easier, the oil will stay on top of the syrup, so you can take out your half tablespoon after they’re together. I’ve honestly never measured out the half tablespoon precisely; I eyeball it and they’ve come out perfectly. If you just use 1/2 cup even of the oil, the cookies will still be fine. I just find them a touch too oily for my taste.

Heat the oil, maple syrup & vanilla
The trick to making chocolate swirl cookies is that your oil and syrup mixture has to be hot when it gets mixed with the dry ingredients. I put the measuring cup in the microwave and heat for 10-20 seconds at a time until it’s hot. Measure our your chocolate chips and have them ready while the wet ingredients are heating up.
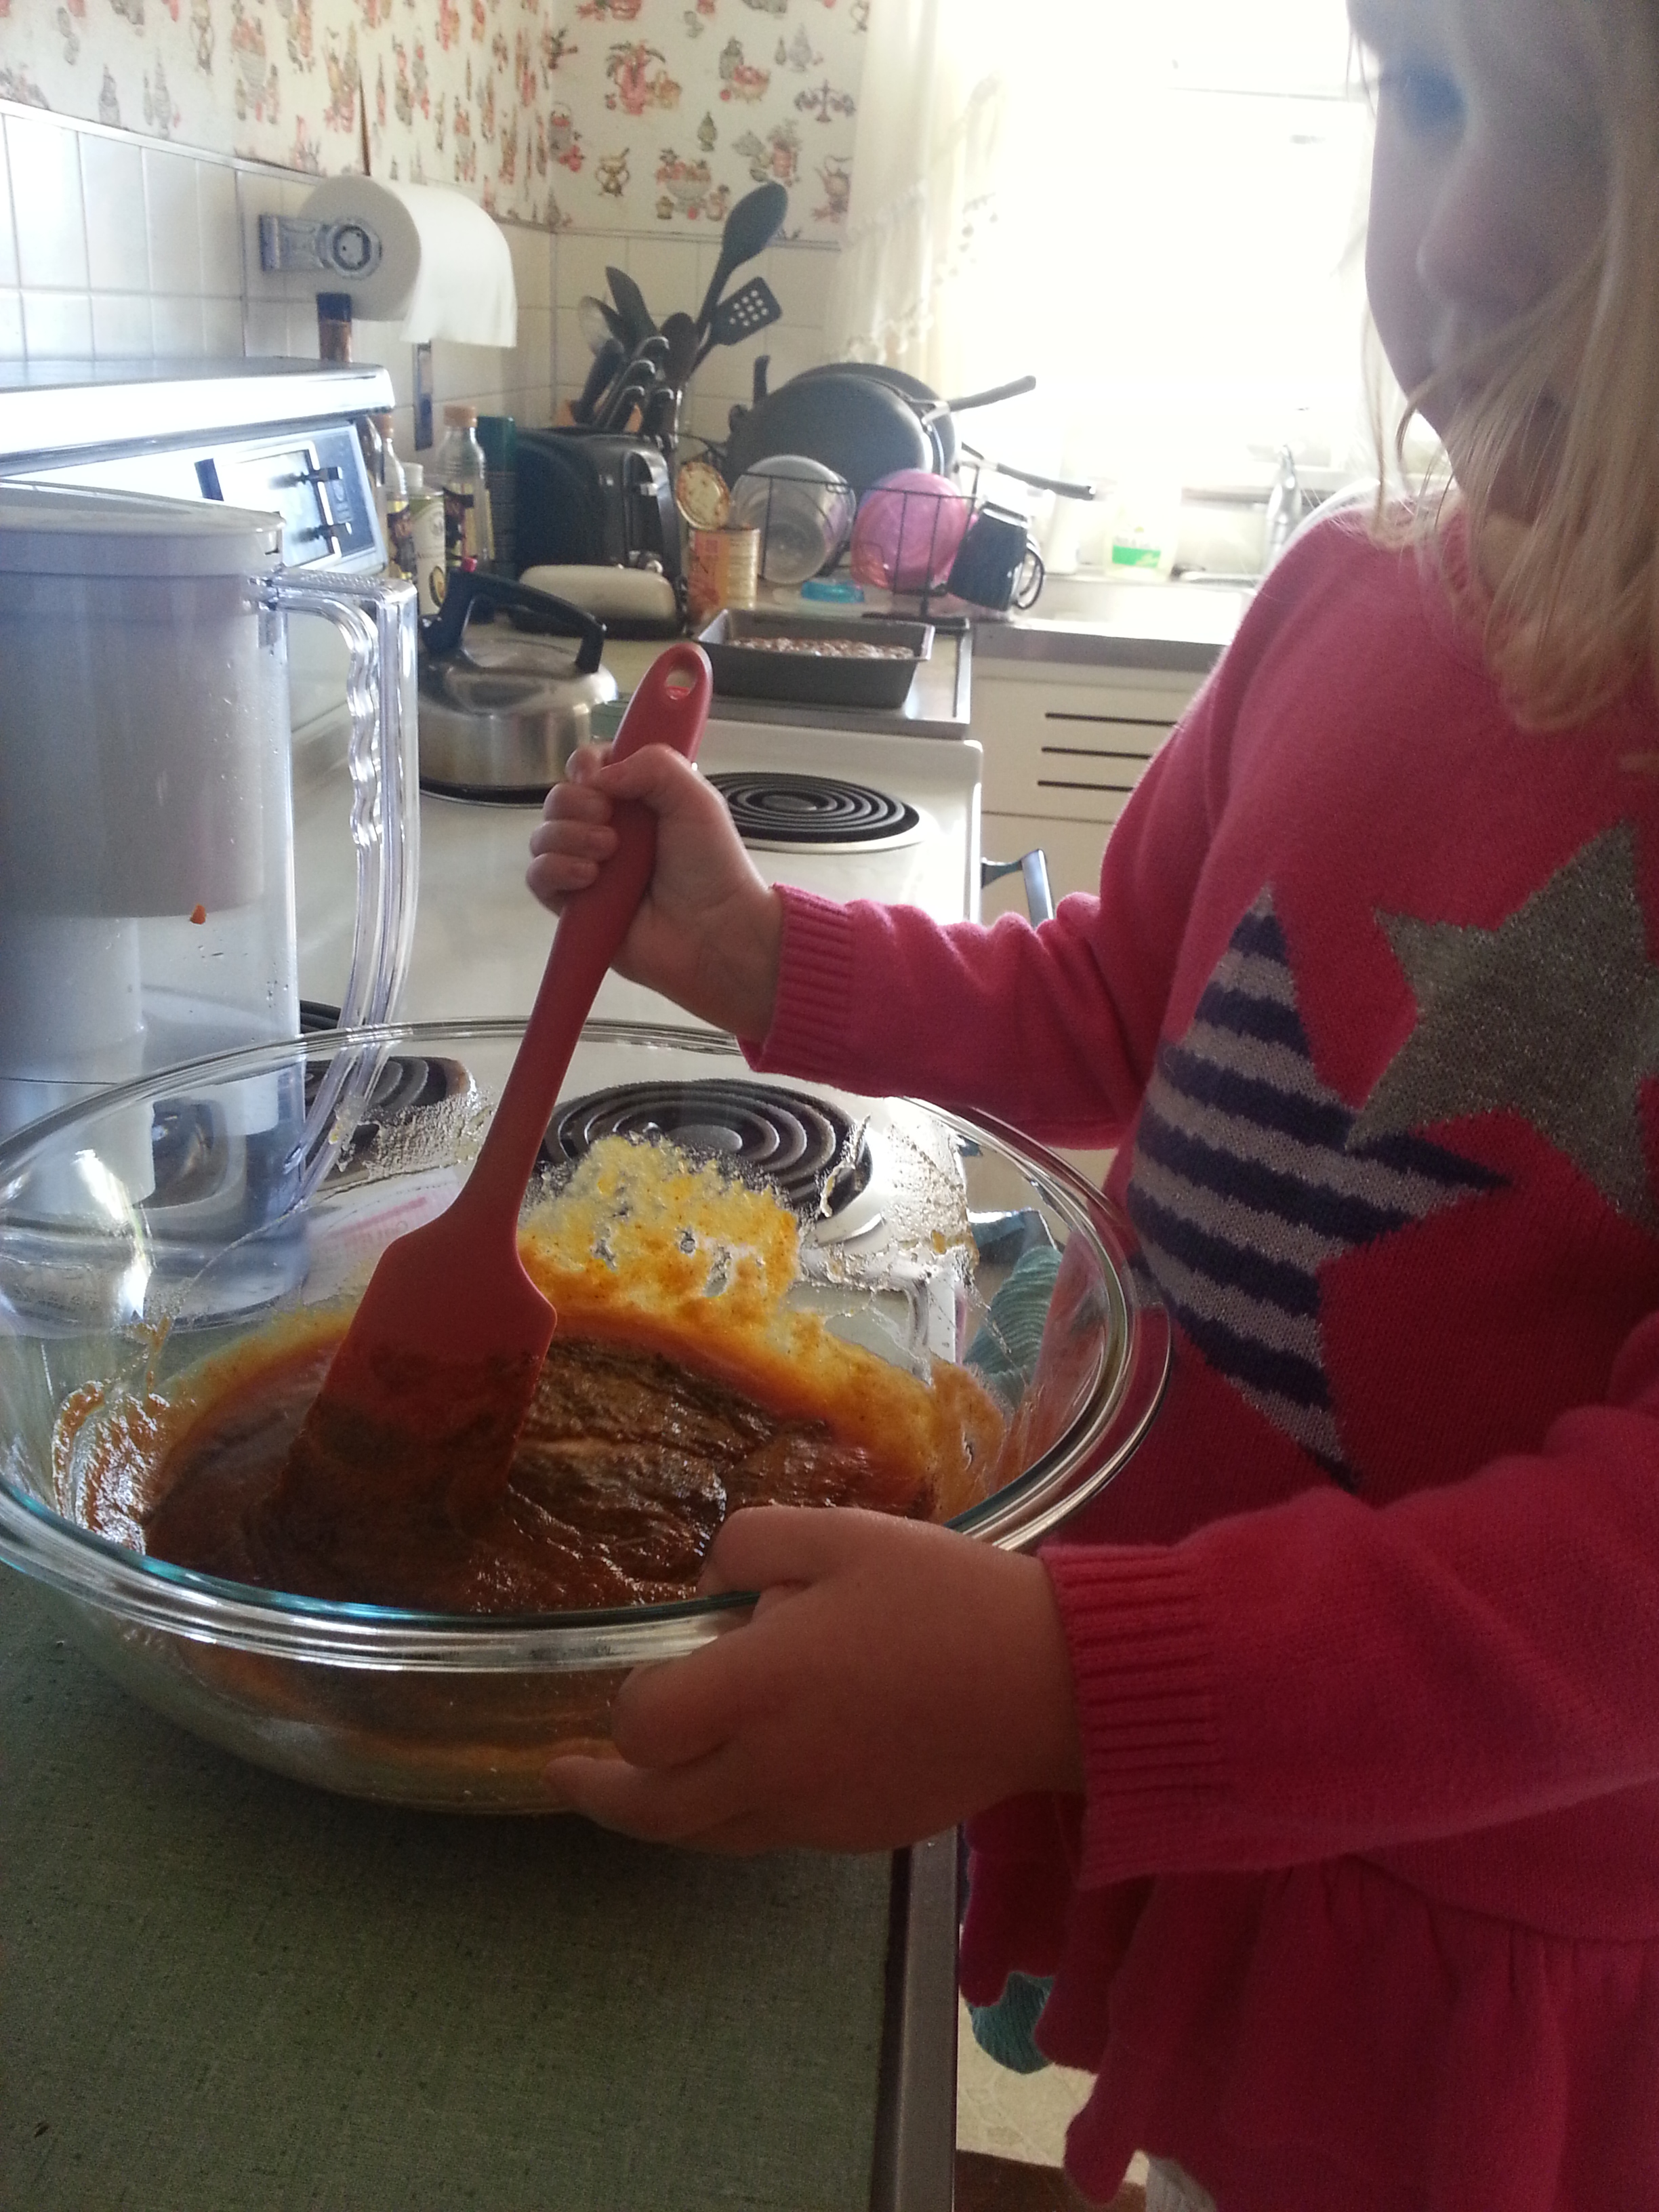
Pour your heated wet ingredients into the dry ingredients and quickly stir a bit. You can add the chocolate chips before the dough is completely formed. Add the chocolate chips and continue stirring. Shortly, you will see that the chocolate chips are starting to melt. Continue stirring until the ingredients are well combined and the dough seems swirly enough to you. It’s okay if there are still some chunks of chocolate that are not completely melted.

Mix in the dark chocolate chips

The chocolate melts as you stir, making swirls
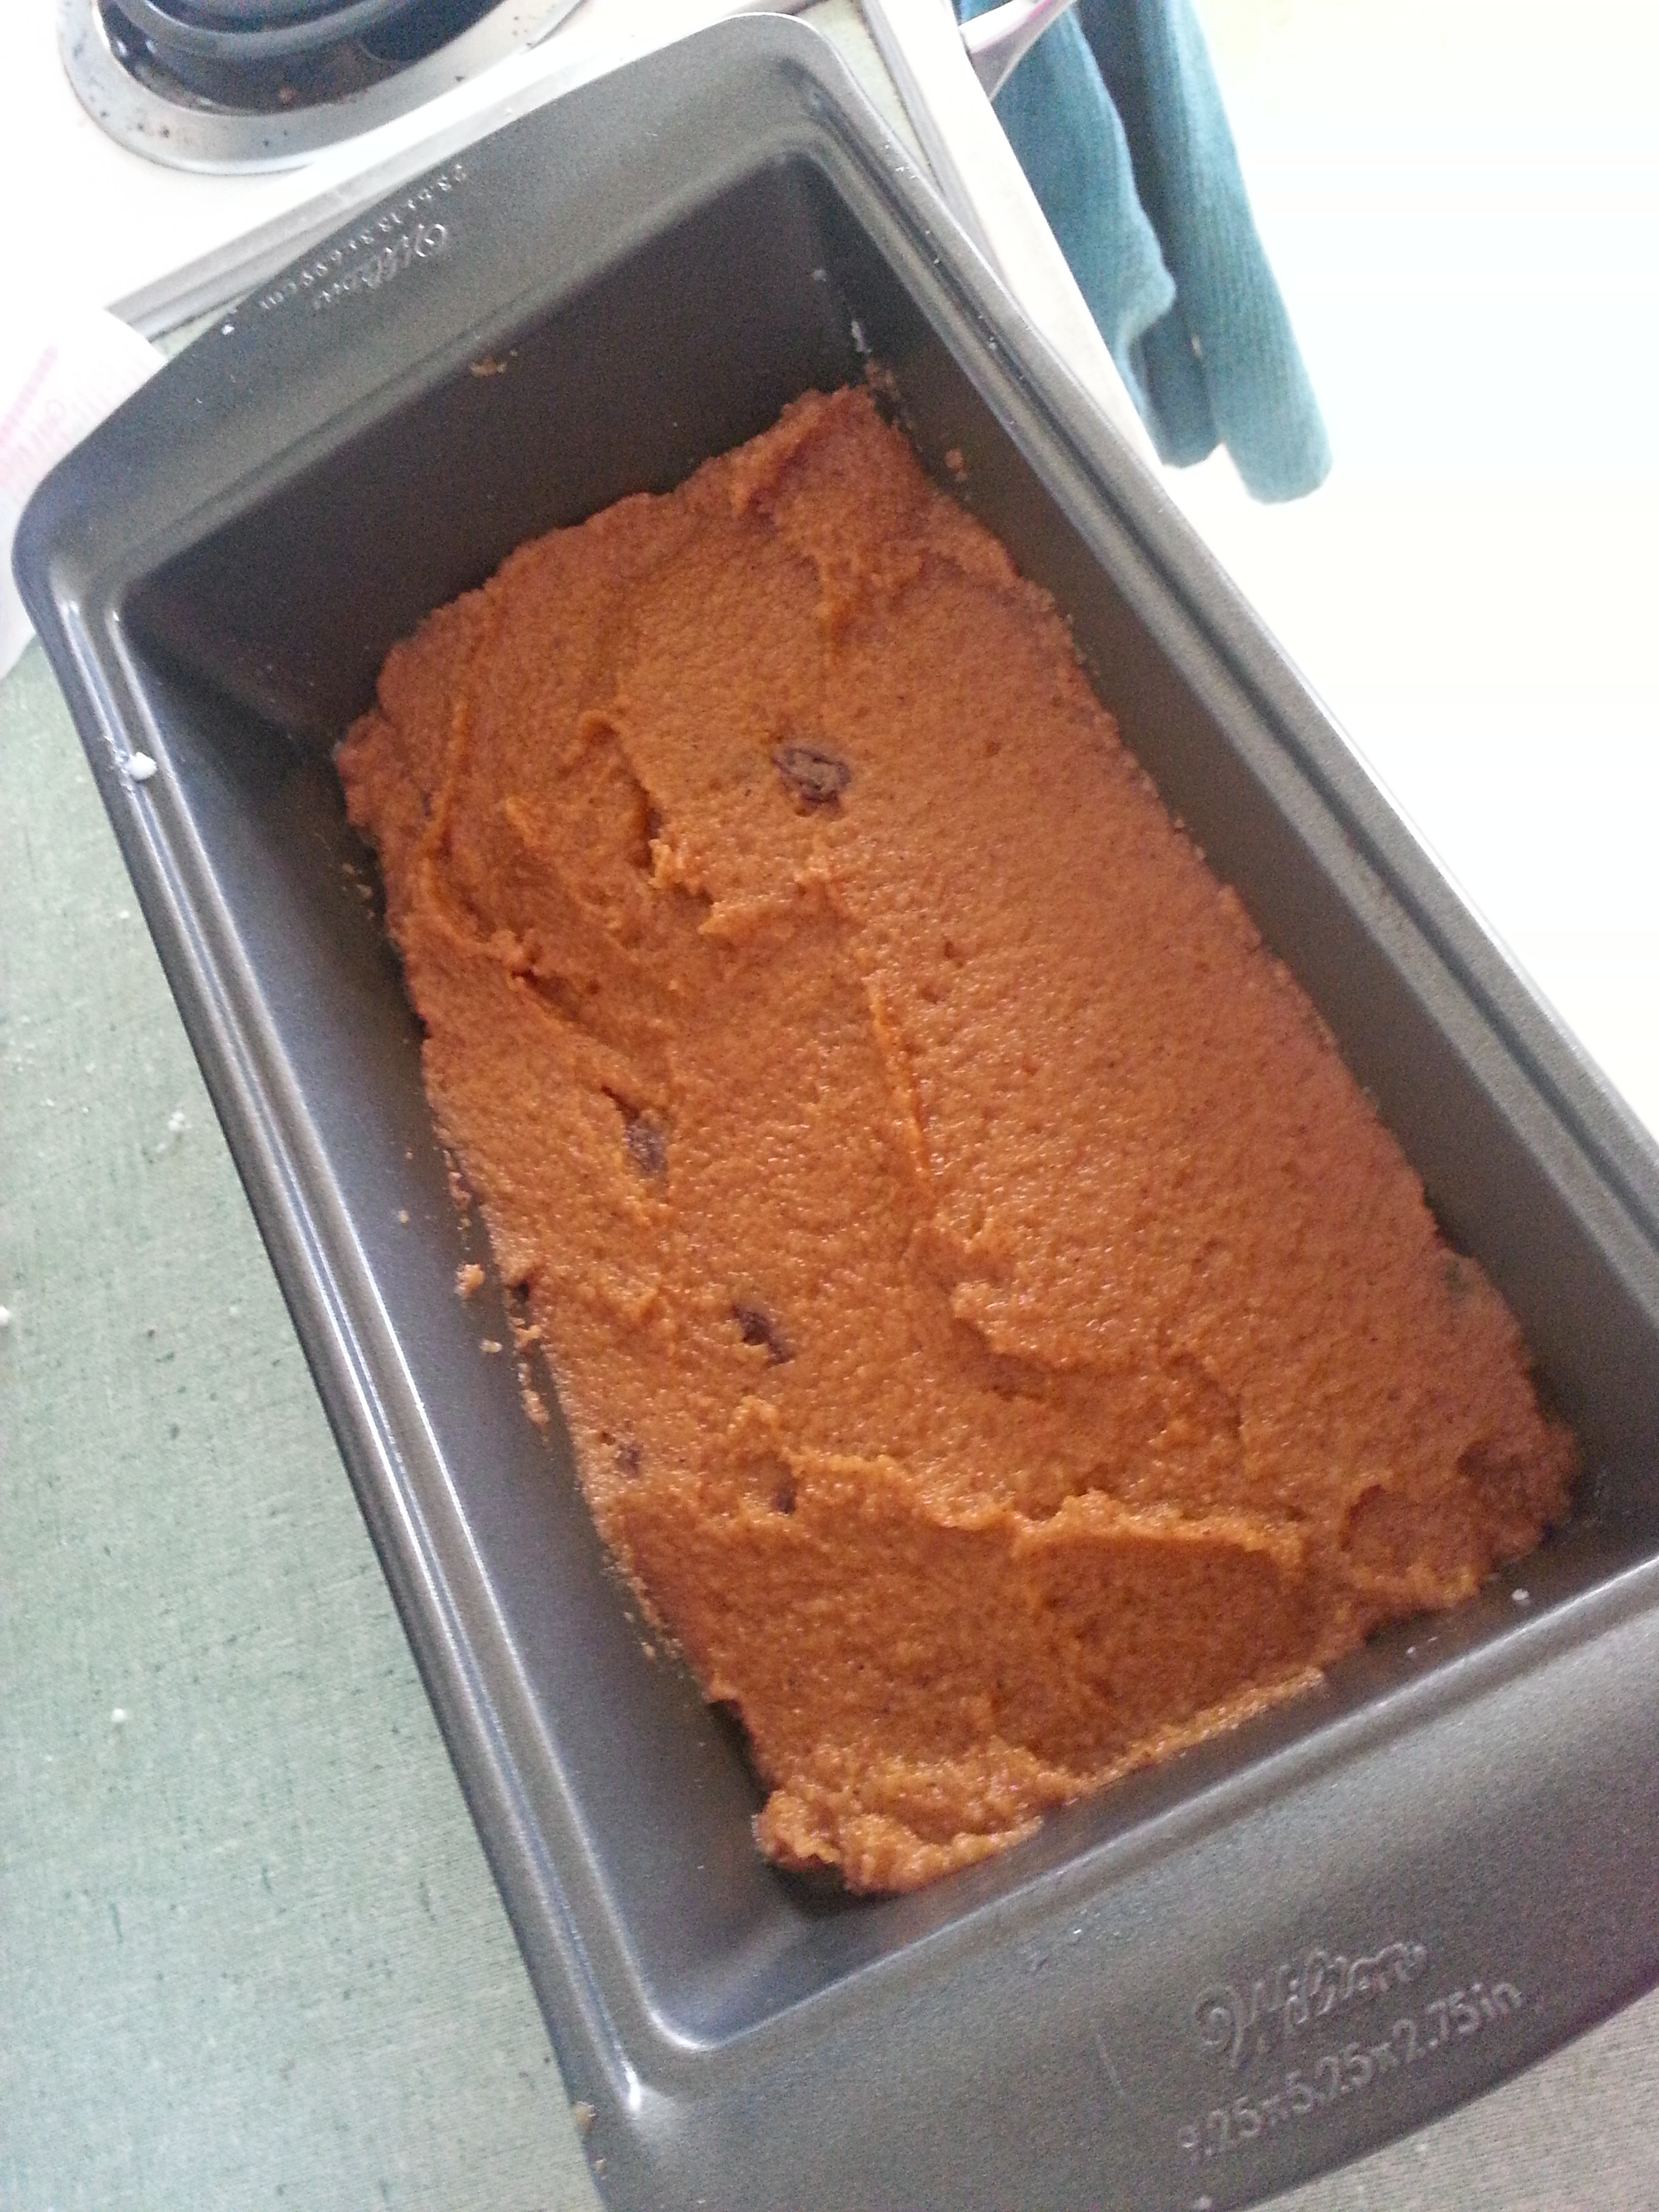
Using a tablespoon measure, scoop out some dough, form a ball in your hands, and press onto the parchment lined cookie sheets. Bake for about 13 minutes.
Notes: If you used honey instead of maple syrup as your sweetener, you may have to adjust the baking time down a little bit. If you undercook these by just a little, they’ll still taste great. Especially when they’re still warm out of the oven, you won’t even realize they’re undercooked. However, if you’re eating them later, you’ll fine that they’re too soft. Using my oven, baking them for 12 minutes was definitely not enough, but 13 minutes worked out perfectly. So if you’re not sure if they’re done or not, I would err on the side of giving them an extra minute.
Now, here’s the hardest part, in our household. Let the cookies cool on the cookie sheets. You can start eating them while they’re still warm.

Press the dough onto the cookie sheet
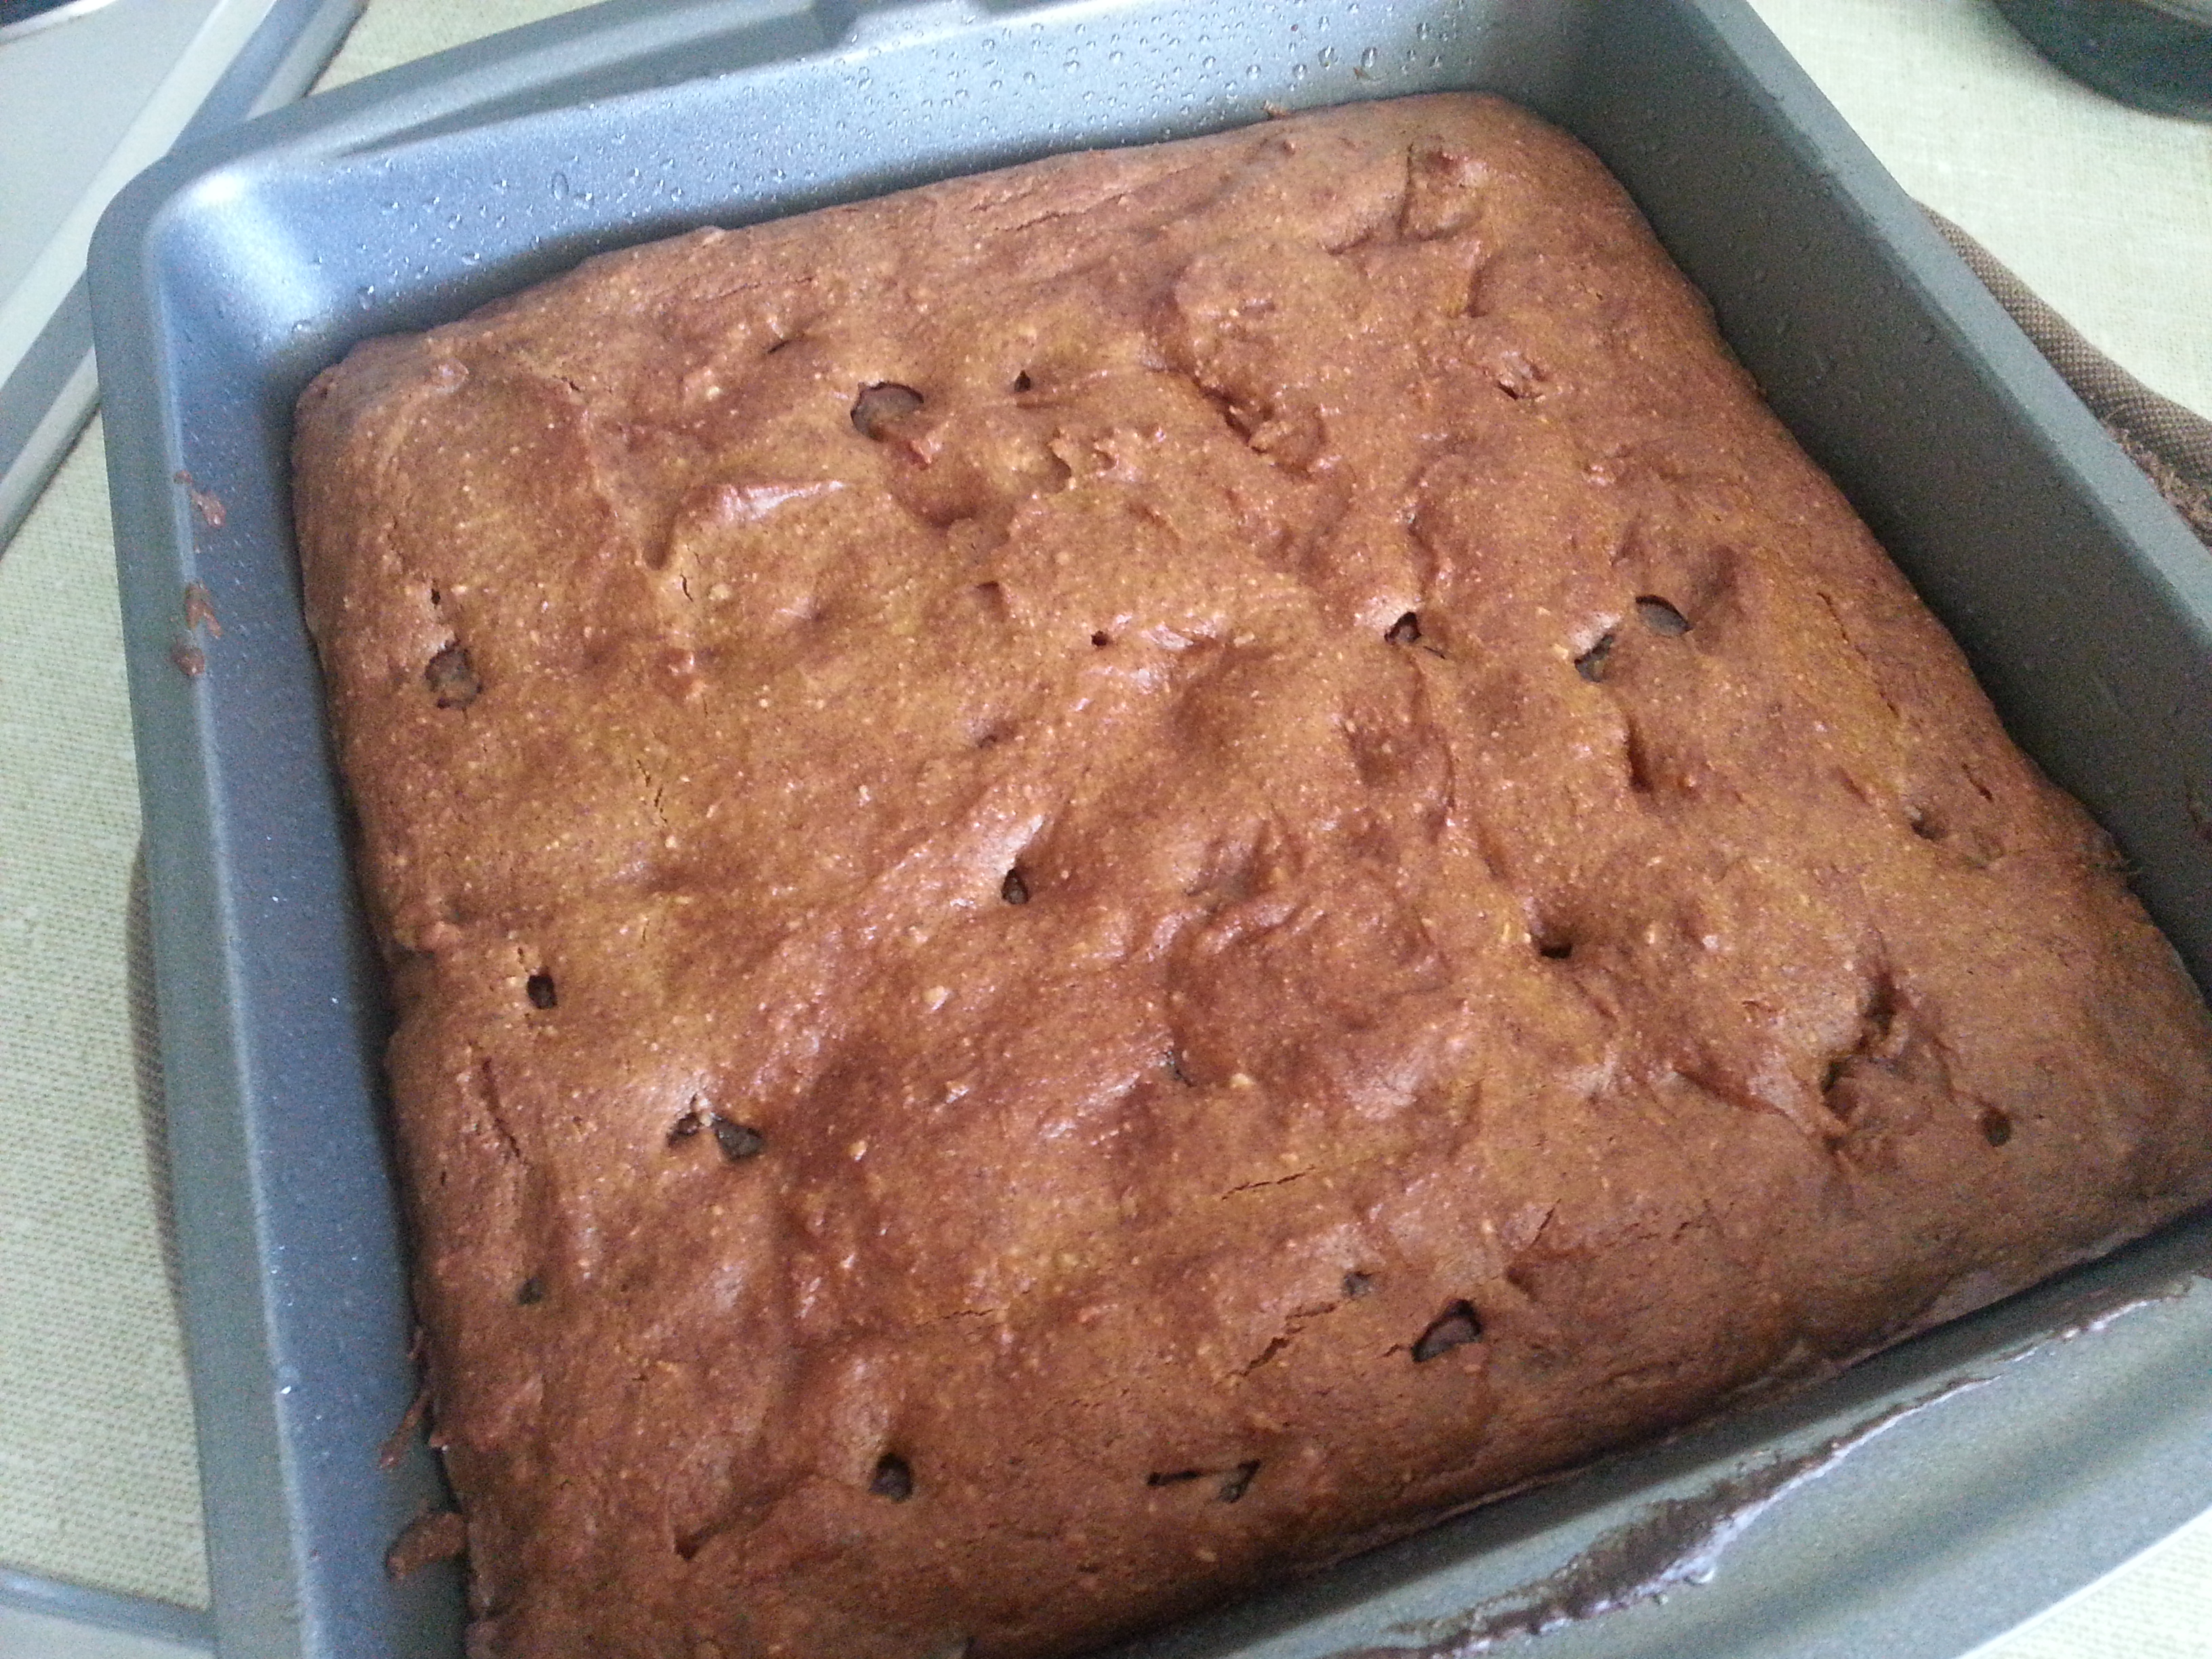
Enjoy!
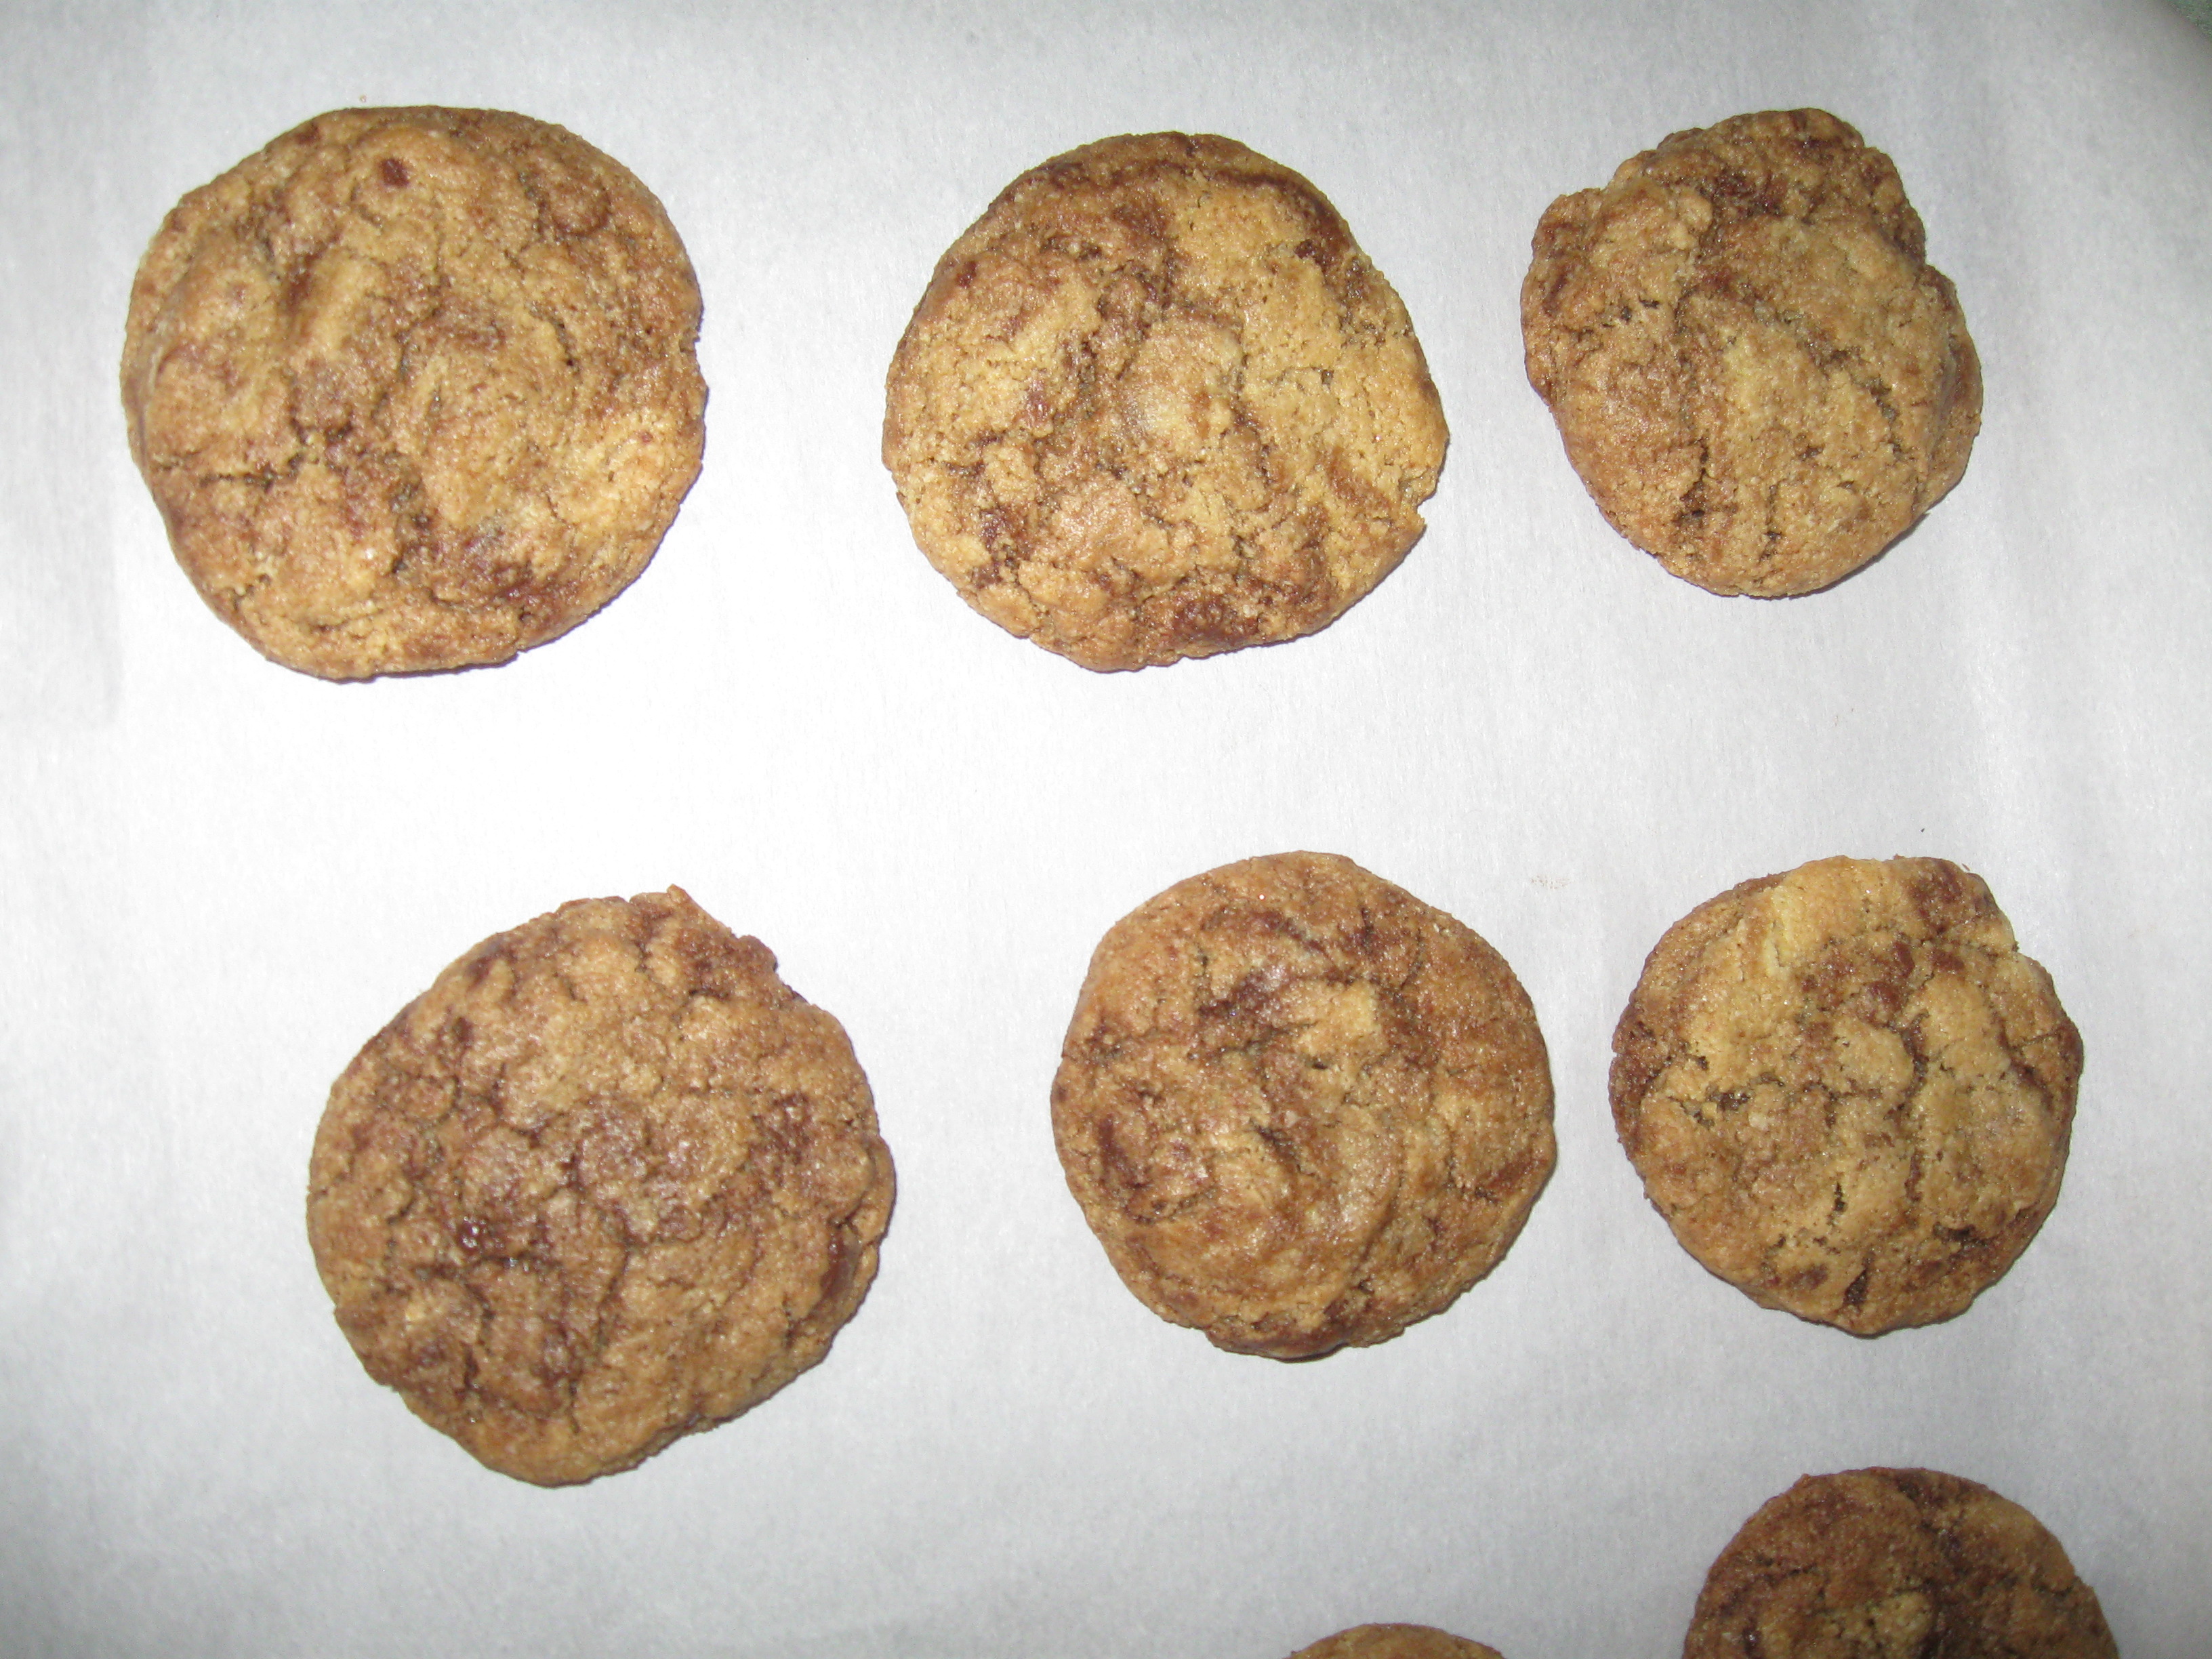
Fresh out of the oven!

Enjoy!
May I just say how hard it is to get a good picture of someone eating? Even with a subject as willing and photogenic as this one! (Granted, I’m a little biased about my Sweet Bee, but still.) Here are some outtakes: 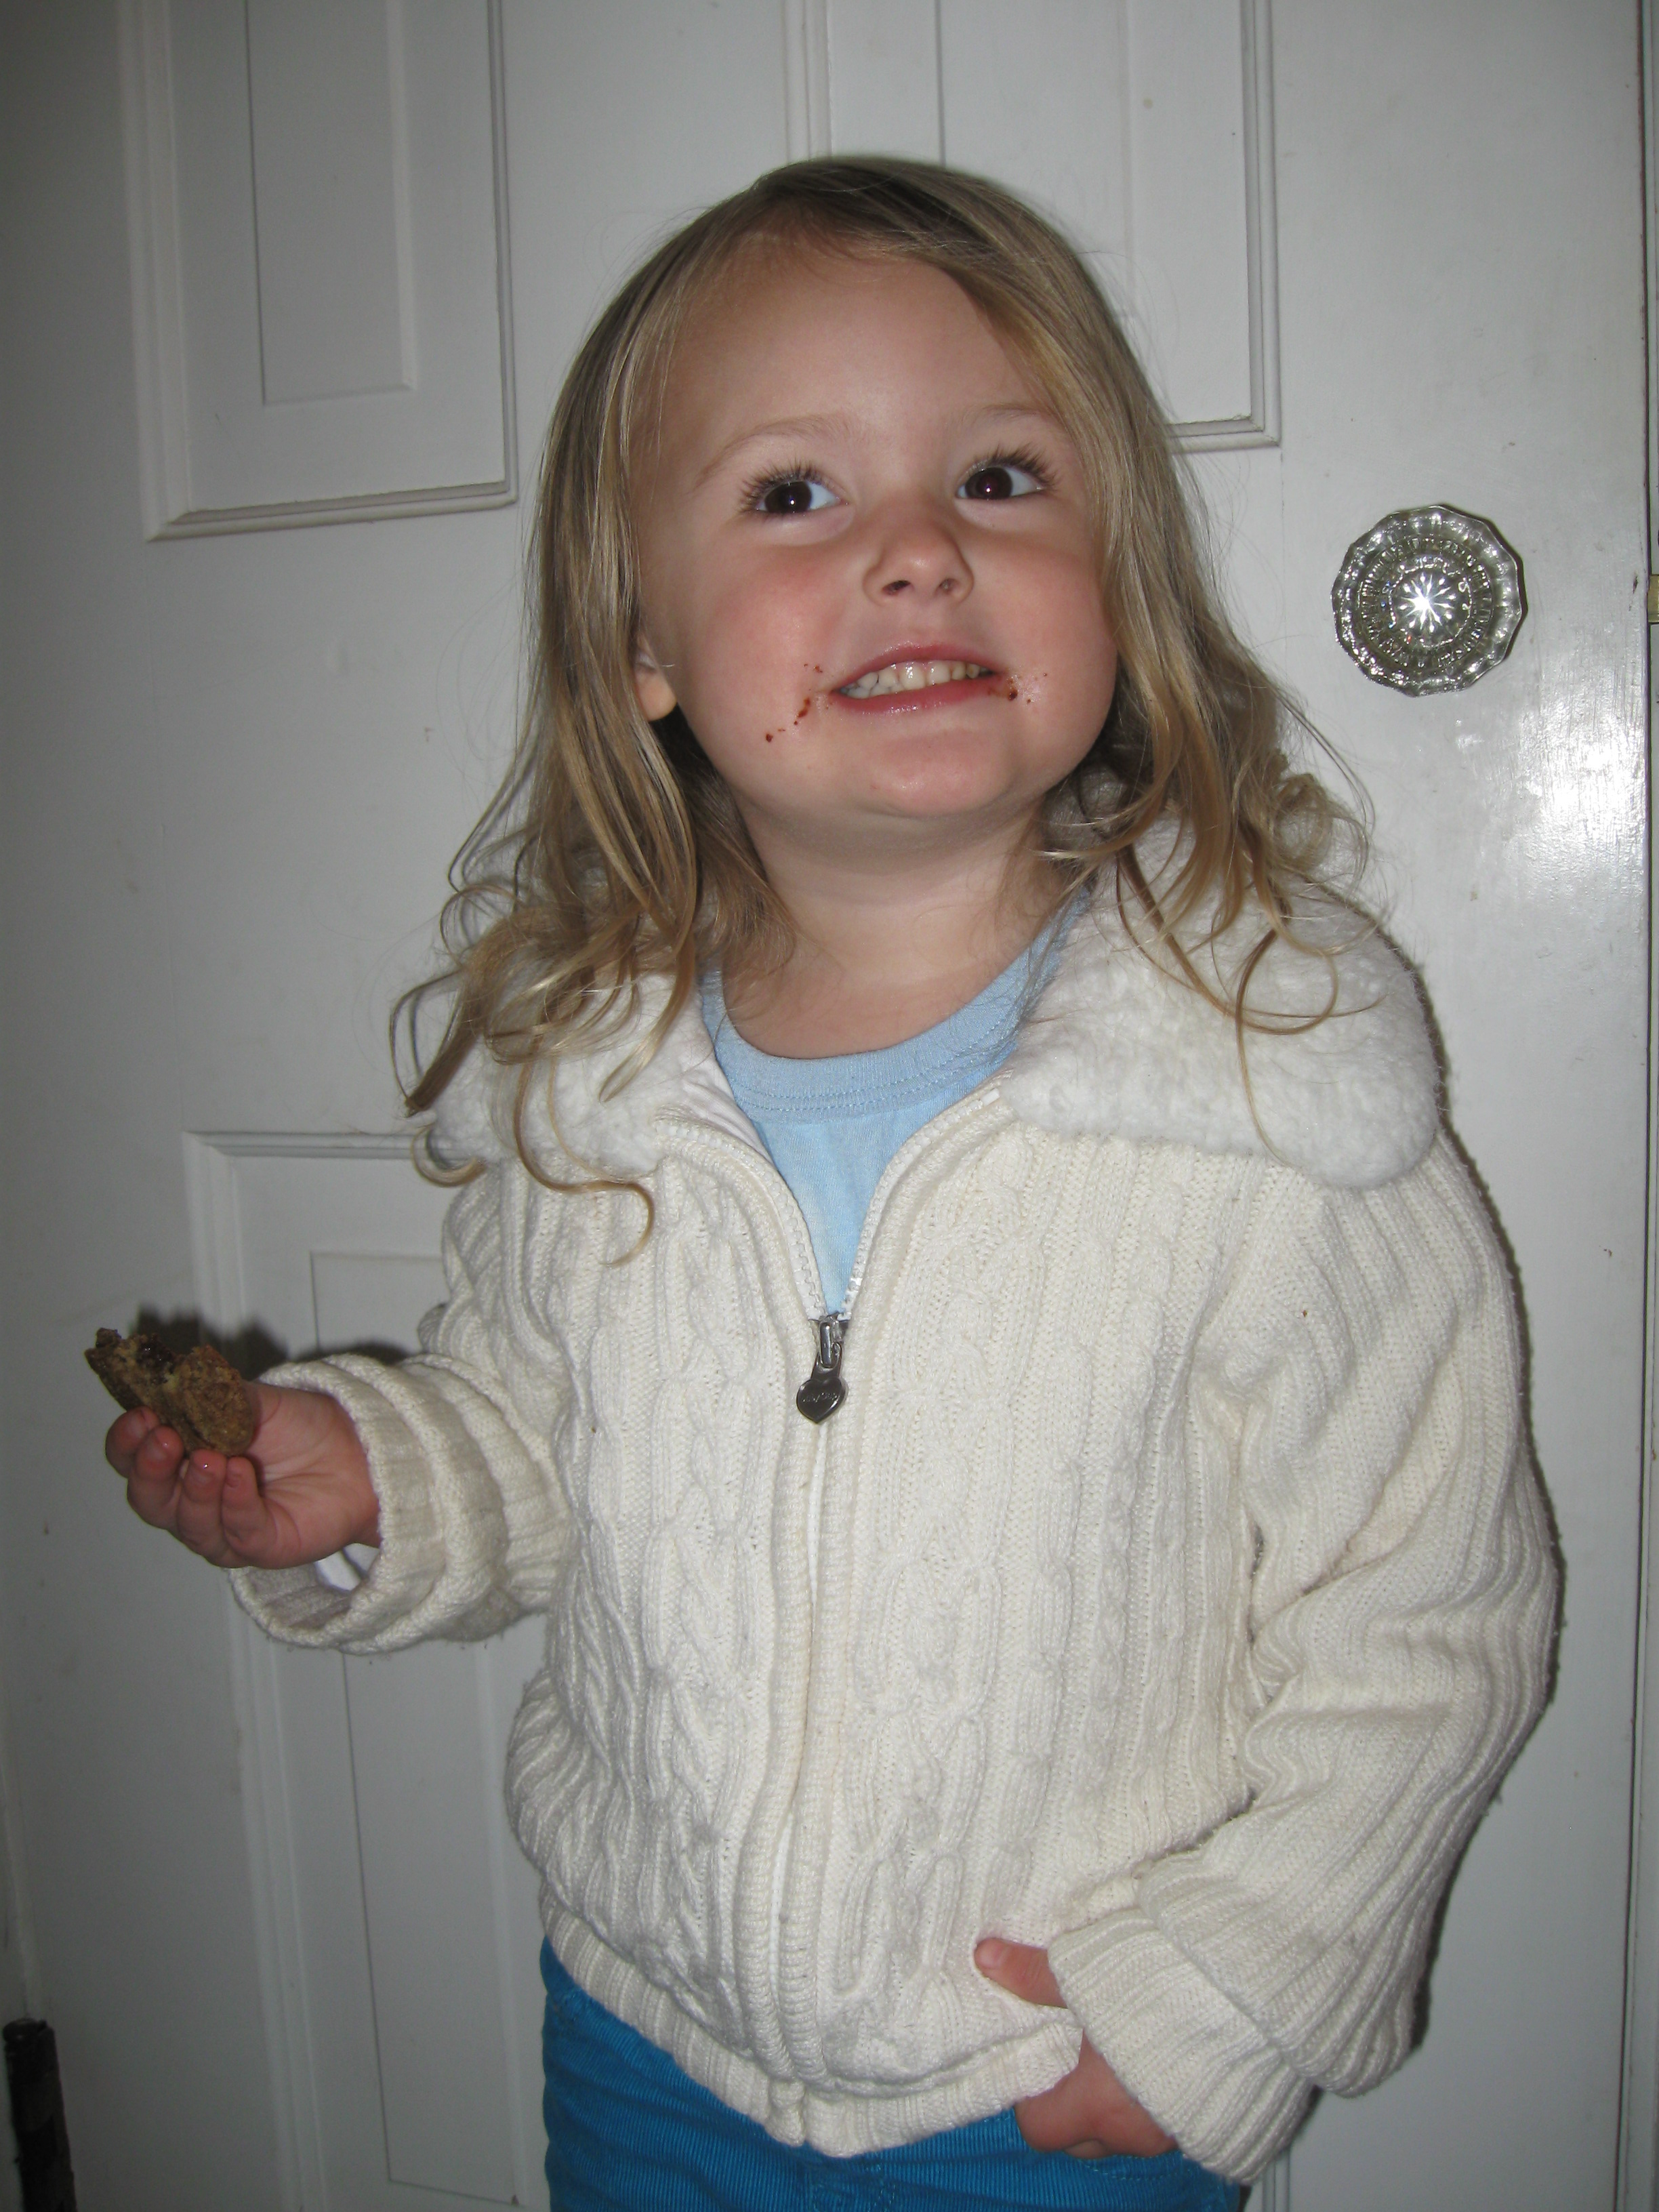


Recent Comments